
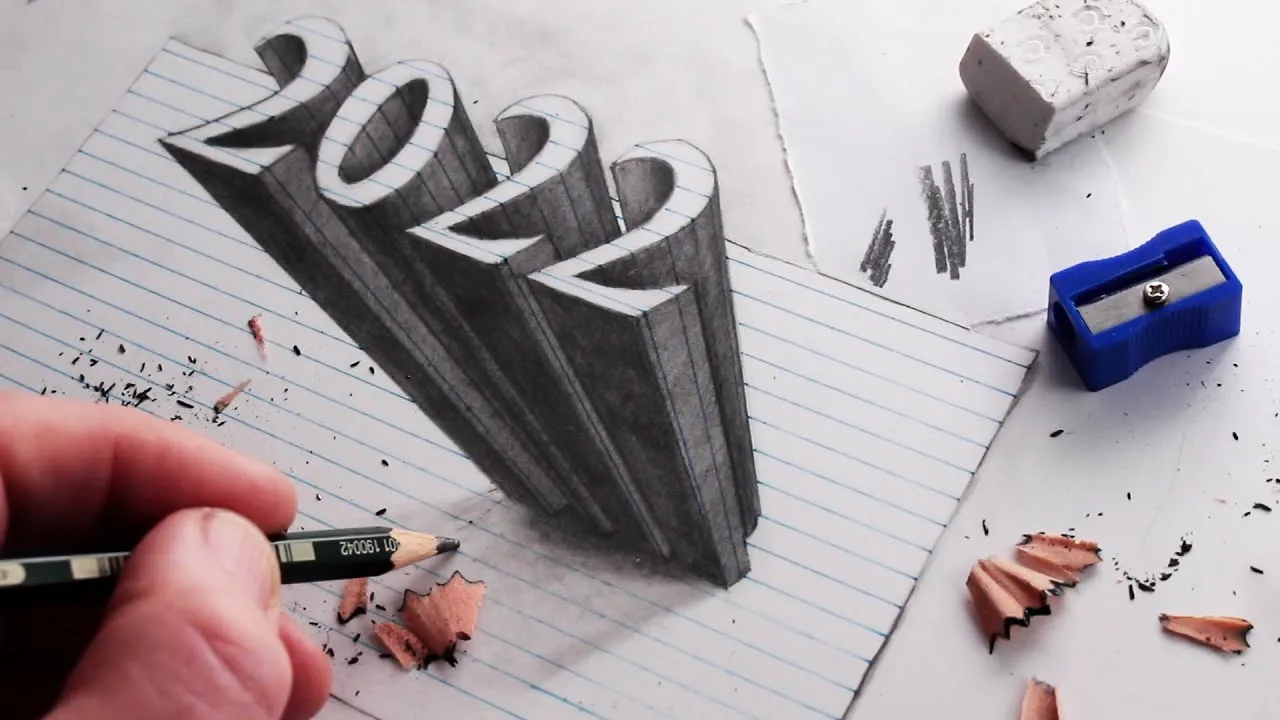
3D drawing tricks can completely transform a simple sketch into something that looks like it’s jumping off the page. If you’ve ever seen a drawing of a hole that appears deep enough to fall into or a staircase that seems to float in mid-air, you’ve already experienced the magic of perspective and shading done right.
The good news is that you don’t need to be a professional artist to master these techniques. With the right understanding of light, angles, and structure, anyone can learn how to create impressive 3D effects. This guide breaks everything down in a friendly, practical way so you can start applying these techniques immediately.
Whether you are a student, hobby artist, or someone rediscovering creativity, these methods are based on real artistic principles used by experienced illustrators and art educators.
Understanding the Foundation Behind 3D Drawing Tricks
Before diving into advanced illusions, it’s important to understand what makes 3D drawings work. Every convincing 3D sketch is built on three core elements: perspective, shading, and proportion.
Perspective gives your drawing depth. It controls how objects appear smaller as they move farther away. Even a simple cube becomes powerful when drawn with proper perspective lines.
Shading creates the illusion of volume. Light hitting an object forms highlights and shadows. The way you blend dark and light areas determines how realistic your drawing looks.
Proportion keeps everything believable. If one side of a structure is stretched unnaturally without intention, the illusion collapses.
Professional artists train their eyes to observe how light behaves in real life. A coffee mug on your desk already contains everything you need to practice depth and dimension.
Simple 3D Drawing Tricks for Absolute Beginners
If you’re new, start with basic shapes. Cubes, spheres, and cylinders are the building blocks of all complex drawings.
Draw a square. Now extend two lines from its corners and connect them to form a cube. Add shading on one side and slightly darker shading underneath. Suddenly, your flat square becomes solid.
The same applies to circles. Add a soft shadow on one side and blend gradually toward the highlight. This transforms a flat circle into a sphere.
These beginner-friendly 3D drawing tricks work because they mimic how light behaves in the real world. Keep your light source consistent. If the light is coming from the top left, all shadows must fall toward the bottom right.
Practice this repeatedly. Consistency builds muscle memory and visual understanding.
How Light and Shadow Make 3D Drawing Tricks Powerful
Light is the secret weapon behind realistic 3D art. Without proper shading, even perfect perspective looks flat.
There are five key shading areas you should observe: highlight, midtone, core shadow, reflected light, and cast shadow. Each plays a specific role in building volume.
The highlight is where light hits most directly. The core shadow is the darkest area, usually opposite the light source. Reflected light appears subtly near the shadow edge, bouncing from nearby surfaces.
Cast shadows ground your object. Without them, the drawing appears to float unnaturally.
One of the most effective 3D drawing tricks is exaggerating contrast. Beginners often make shadows too light. Increasing contrast adds drama and realism instantly.
Using Perspective to Master 3D Drawing Tricks
Perspective can feel intimidating, but it follows simple logic. Objects appear smaller as they move farther away from the viewer.
Start with one-point perspective. Draw a horizon line and place a single vanishing point. All depth lines move toward that point.
This technique is perfect for drawing hallways, roads, and buildings. It instantly creates depth.
Two-point perspective adds realism for angled objects like boxes and city scenes. Instead of one vanishing point, you use two on the horizon line.
When practicing perspective-based 3D drawing tricks, lightly sketch guidelines first. Erase them later. Even experienced artists use construction lines.
Creating Optical Illusions with 3D Drawing Tricks
Some of the most impressive 3D artworks are optical illusions. These rely on carefully planned angles and distortions.
Anamorphic art is a famous example. It looks distorted from most angles but becomes perfectly 3D from one specific viewpoint.
To try this yourself, sketch a simple shape like a cylinder. Stretch it slightly vertically and add perspective shading. When viewed from a low angle, it appears realistic.
These illusion-based 3D drawing tricks require patience and experimentation. Always test your drawing from different viewing angles.
Chalk artists on streets use these same principles to create giant holes, waterfalls, or creatures emerging from pavement.
Tools That Improve Your 3D Drawing Tricks
You don’t need expensive supplies, but certain tools can enhance your results.
A range of pencils from HB to 6B helps create smooth gradients. Softer pencils produce deeper shadows.
Blending stumps or tissue paper smooth out shading transitions. This is especially useful for spheres and rounded objects.
Rulers help with perspective lines. Even freehand artists often start with precise measurements before refining organically.
Digital artists use layering and soft brushes to mimic traditional shading. The core principles of 3D drawing tricks remain identical across mediums.
Common Mistakes to Avoid When Practicing 3D Drawing Tricks
Many beginners rush the shading process. Depth comes from gradual blending, not harsh lines.
Another mistake is inconsistent lighting. If shadows change direction, the illusion breaks.
Over-outlining objects also flattens the drawing. Instead of drawing thick borders, let shading define edges naturally.
Patience is key. Real improvement happens through repetition and careful observation.
If something looks off, compare your drawing with a real object under similar lighting conditions.
Real-Life Practice Exercises for Stronger 3D Drawing Tricks
Practice drawing everyday objects around you. A glass, a book, or a phone can become your training model.
Place a single lamp beside the object. Observe how shadows fall. Sketch what you see, not what you assume.
Try drawing stairs in one-point perspective. Then add shadows beneath each step. Notice how depth increases immediately.
Challenge yourself by drawing a hole in paper. Shade the inner edge darker and lighten toward the center. Add a cast shadow on the “floor” surface.
These exercises sharpen your understanding of structure and lighting in practical ways.
Advanced 3D Drawing Tricks for More Realism
Once you’re comfortable with basics, experiment with texture. A 3D brick wall requires perspective plus varied shading on each brick.
Metallic objects need sharper highlights and stronger contrast. Glass requires subtle shading with bright reflections.
Foreshortening is another powerful technique. It makes objects appear closer to the viewer. Drawing a hand reaching outward with shortened finger proportions creates dramatic depth.
Advanced 3D drawing tricks combine multiple skills: perspective, anatomy, shading, and composition.
How Professionals Refine Their 3D Drawing Tricks
Experienced artists don’t rely on talent alone. They study form, light physics, and geometry.
Art schools teach foundational drawing before stylization. Students repeatedly sketch cubes, cones, and spheres from different angles.
Professionals also analyze master artworks. Observing how shadows are layered helps refine your approach.
Consistent daily practice is more effective than occasional long sessions.
Improvement in 3D drawing tricks is gradual but noticeable over weeks and months.
Digital vs Traditional 3D Drawing Tricks
Both mediums follow identical depth principles, but the tools differ.
Traditional drawing relies on pencil pressure control. Digital drawing offers undo options and adjustable opacity.
In digital platforms, you can separate shading layers. This allows easier correction.
However, beginners often benefit from starting with pencil and paper because it builds stronger foundational skills.
Whichever medium you choose, understanding light and perspective remains the foundation of effective 3D drawing tricks.
Building Confidence Through 3D Drawing Tricks
One of the biggest barriers to drawing is self-doubt. Many beginners quit too early.
Start with small goals. Master a cube before attempting complex illusions.
Keep older sketches. Comparing progress builds motivation.
Share your artwork with supportive communities. Constructive feedback accelerates growth.
Over time, these small improvements compound into noticeable artistic skill.
Strengthening Creativity While Practicing 3D Drawing Tricks
Technical skill matters, but creativity makes art memorable.
Once you understand depth, experiment with imaginative ideas. Draw objects breaking through paper. Sketch floating islands or impossible staircases.
Combine realism with fantasy.
Creativity grows when technical confidence increases. As your control over 3D drawing tricks improves, your ideas become more ambitious.
Art is both science and expression. Mastering structure gives you freedom to explore imagination.
3D drawing tricks are not about complicated secrets or rare talent. They are built on observation, repetition, and understanding light and perspective.
By practicing consistently and focusing on fundamentals, you’ll notice your drawings gaining depth and realism faster than you expect.
With patience and structured practice, your sketches will begin to look less like flat outlines and more like tangible objects that feel alive on the page.
Read also:
6616337440
2816701587
8556605761
4697127200
8442627910